Monday, 19 November 2012
Week 5
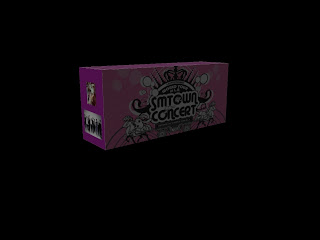
This exercise make use of Photoshop and Maya. First, we have to create the layout of the ticket booth. Star out with a cube then by the UV mapping to map the faces of the booth. This step is an extremely important step as if we did this step wrongly, we won't be able to complete the ticket booth. Hence, we have to be extra careful with this step and do it correctly.
After we create the layout of the booth, we will save the file and open it at Photoshop. In Photoshop, we just have to make use of our creativity to design our ticket booth. We can color it and also insert image in the ticket booth.
When we are done with the design of the ticket booth, we save it as a JPEG file then we will go back to Maya. In Maya, we will open the file that we had in Photoshop by right click and choose Assign New Material then click on Lambert and select the JPEG file from the folder. After this step, the design we did in Photoshop will just appear on the ticket booth and we are done!
This exercise is fun and interesting, as we get to do something different. Other than working on Maya, we can also have fun and design our ticket booth in Photoshop.
Subscribe to:
Post Comments (Atom)


No comments:
Post a Comment