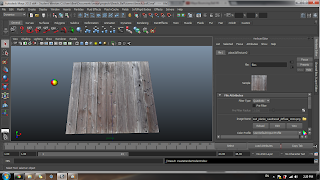
Firstly, set a new project so that this beach ball will have its own document folder. Next, set the preferences which is the default settings and the change the size of the grid.
Next, create a ground using the polygon primitives and select at the 200 value. Now, choose the NURBS primitives and scale the ball to 15. Move the boxes and enclose the scene and now I can hide the camera.
Create a camera for rendering. Go create > camera > camera & aim. After that, add the resolution gate so that it chooses the place where you put to see, outside the resolution gate, nothing will be chosen. Now, I assign new material to the ball by when i right click it and go to assign new material > blinn. Change the setting attributes and choose create render node and choose 2D texture and ramp. Next, assign new material for the ground also. After assigning, now I add a bump map.
Next, to animate the ball, station the ball out of the camera view, rotate the ball and freeze the transformations. Go into the graph editor and edit it using break tangents to edit individually and now the ball is bouncing smoothly.
To make a squash & stretch effect, create deformers > non linear > squash. Go under attribute editor and the "Factor" determines the effect. Now, link the squash handle to the ball. Click on the squash handle then the ball and press "p". To set the key frame, I just select keyframes and and it. To manage the time of the animation, I can use dope sheet and manipulate it. Window > animation editors > dope sheet.
To add lighting, create > lights > directional lights. Then move the light out of the ground and rotate it to whichever lighting suits. Choose the ray trace shadows then change the shadow to grey. Now the ball has a dark side so to make it look better, choose ambiance lights and put it below the ground.
Final Product:

No comments:
Post a Comment